How to Dry Walls After Water Damage: Step-by-Step Guide
Facing Water Damage Right Now?
Our emergency crews arrive on-site within 60 minutes with direct insurance billing.
Discovering damp drywall, bubbling paint, or water pooling along your baseboards is a stressful moment for any homeowner. Learning how to dry walls quickly and correctly is the single most important step you can take to prevent permanent structural ruin and hazardous mold growth.
At Water Extraction Now, our field technicians handle structural moisture emergencies daily. In this practical guide, we break down professional structural drying techniques into easy, actionable steps you can execute immediately to restore your home safely.
Why Immediate Action Matters
Drywall is extremely porous and acts like a massive paper towel when exposed to liquid. Water travels upward through drywall via capillary action, saturating timber studs and interior insulation within hours.
If moisture sits untreated:
-
24 to 48 Hours: Mold spores germinate and spread throughout the wall cavity.
-
48 to 72 Hours: Drywall loses structural integrity, sags, and crumbles.
-
7+ Days: Timber framing begins to warp, rot, and host deep structural decay.
Initial Inspection: Assessing Wall Moisture
Before attempting to dry your walls, determine where the water came from and how deep it penetrated.
Classifying the Water Source
-
Category 1 (Clean Water): Rainwater or broken supply lines. Safe for direct DIY drying.
-
Category 2 (Gray Water): Washing machine or dishwasher backups. Requires sanitization during drying.
-
Category 3 (Black Water): Sewage or storm flooding. Contaminated materials must be cut out and replaced by pros.
Identifying Trapped Moisture
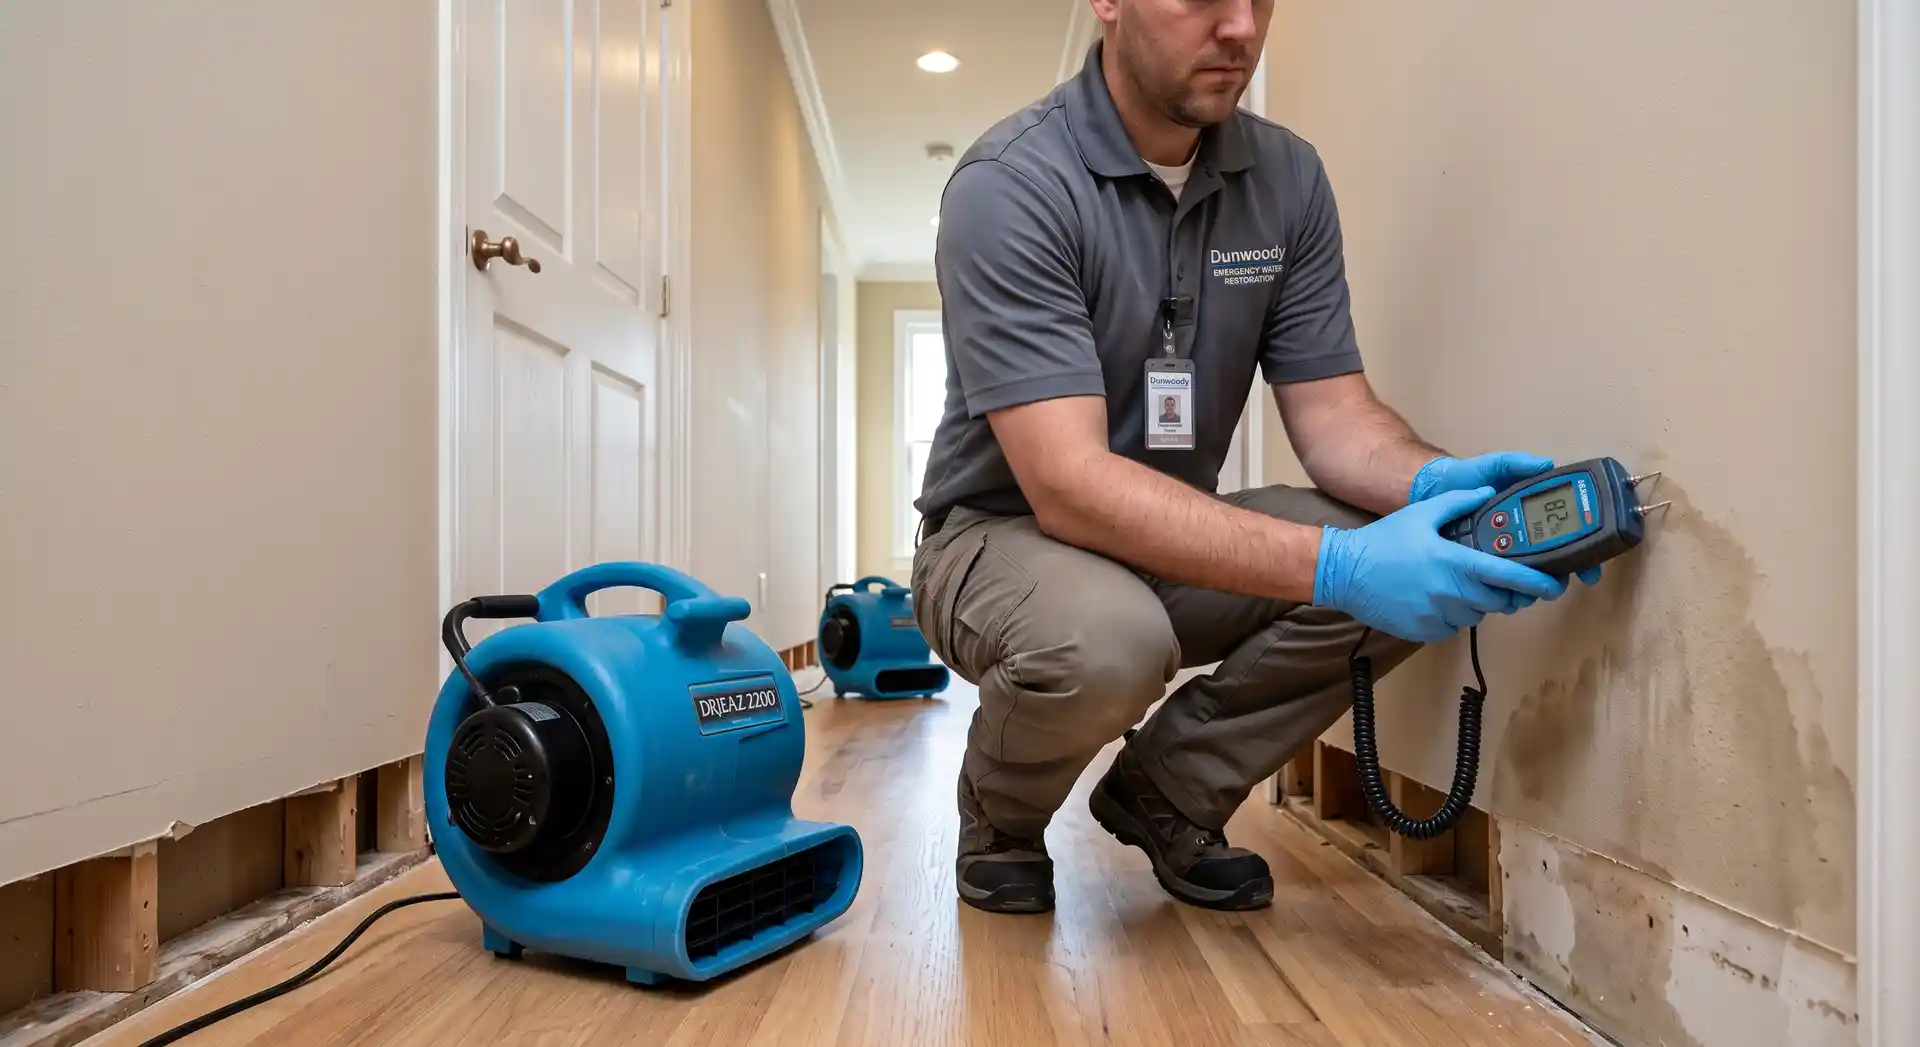
Surface paint might look intact while the stud cavity behind it remains drenched. Professional restorers rely on pinless moisture meters and thermal cameras to map hidden moisture pockets.
To learn more about tracking moisture levels, read our detailed guide on [Internal Link: How to Detect Hidden Moisture Behind Walls].
Tools Required for Structural Wall Drying
Having the proper equipment drastically speeds up moisture evaporation.
| Equipment Type | Function | DIY Alternative |
| High-Velocity Air Mover | Directs targeted airflow along baseboards and surfaces | Oscillating floor fans set to high |
| Commercial Dehumidifier | Extracts airborne water vapor to lower room humidity | Standard home dehumidifier |
| Moisture Meter | Tracks internal moisture percentage in real time | Visual & tactile inspection |
| HEPA Air Scrubber | Filters airborne mold spores during air movement | Portable HEPA room air purifier |
Step-by-Step: How to Dry Walls Efficiently
Follow this proven four-step restoration workflow to remove trapped moisture safely.
+-------------------------------------------------------+
| 1. Stop Leak & Contain -> 2. Remove Obstructions      |
| 3. Create Air Cavities -> 4. Run Drying Equipment     |
+-------------------------------------------------------+
Step 1: Stop the Source and Secure the Area
Shut off your main water valve immediately if the moisture stems from a plumbing leak. Turn off electrical breakers running to affected wall outlets to prevent electrical hazards.
Step 2: Strip Away Non-Drying Surface Layers
Certain wall coverings trap water inside the wall, preventing evaporation.
-
Remove Baseboards: Pry off wooden or vinyl baseboards to inspect the bottom edge of the drywall.
-
Peel Wallpaper: Vinyl wallpaper acts as a vapor barrier, trapping moisture behind it. Strip it off immediately.
-
Blistering Paint: Scrape away peeling or bubbled paint to expose raw sheetrock.
Step 3: Create Ventilation Access Holes
If moisture has entered the cavity behind the wall, outer air movement will not dry the interior studs.
-
Drill small 1-inch holes along the wall baseboard line (which will be hidden when baseboards are reinstalled).
-
This opens the inner cavity to active airflow without requiring full wall removal.
-
Review structural safety standards outlined by the EPA Guide to Mold, Moisture, and Your Home.
Step 4: Deploy Air Movement and Dehumidification
Position fans directly facing the wall at a 45-degree angle. Run a dehumidifier continuously in the sealed room to pull evaporated moisture out of the air.
For full instructions on equipment setup, check out our walkthrough on [Internal Link: Setting Up Equipment for Structural Drying].
When to Dry vs. When to Replace Drywall
Not all wet walls can be saved. Use this evaluation metric:
                                  [ Wall Damaged? ]
                                          |
                        +-----------------+-----------------+
                        |                                   |
                [ Clean Water ]                     [ Black/Gray Water ]
                        |                                   |
         +--------------+--------------+            (Always Replace)
         |                             |
[ Wet < 48 Hours ]            [ Wet > 48 Hours ]
         |                             |
    (Dry Walls)               (Replace Drywall)
-
Dry the Wall: If the water source was clean, the drywall retains its structural shape, and the total soaking time is under 48 hours.
-
Cut Out and Replace: If the drywall sags, crumbles, shows visible mold, or was exposed to contaminated water. Cut 12 inches above the high-water line.
-
Reference industry standards established by the IICRC S500 Standard for Water Damage Restoration.
Professional Drying Techniques vs. DIY Methods
While minor surface dampness responds well to home fans, deep structural flooding requires specialized restoration equipment.
-
Invasive Cavity Drying: Utilizing continuous negative pressure equipment hooked into wall holes to pull moist air outward.
-
Thermal Imaging Inspection: Scanning walls to confirm internal moisture levels match pre-damage baselines.
-
For complex flooding, visit our guide on [Internal Link: Professional Water Extraction Services].
Frequently Asked Questions (FAQ)
How long does it take to dry wet walls?
Under optimal conditions using industrial fans and dehumidifiers, walls take 48 to 72 hours to dry completely. Passive drying using standard household fans can take 7 to 10 days.
Can I dry wet walls with a hair dryer?
No. Hair dryers generate localized, concentrated heat that can crack drywall or damage paint finishes without moving overall air volume enough to dry internal studs.
Should I leave windows open or closed while drying walls?
If outside relative humidity is below 50%, opening windows helps. However, if outside air is humid or rainy, keep windows closed and run a dehumidifier inside.
Summary & Next Steps
Knowing how to dry walls quickly saves thousands of dollars in structural repairs and protects your family from mold exposure. Act within the critical 24-to-48-hour window by removing baseboards, creating ventilation access, and running dedicated air movement and dehumidification equipment.
If your walls remain wet after 48 hours, or if you are dealing with widespread flooding, don’t take chances with structural mold. Contact the certified restoration experts at Water Extraction Now for immediate, high-powered moisture extraction and structural drying services.